my DHs new grill. In the store trying to talk me into it he said "Look honey, it's kinda steam punk." Hilarious. I don't know where he got that. He really is thrilled, and so motivated to cook.

Over the weekend, he cooked, we all ate, it was good. Hooray!
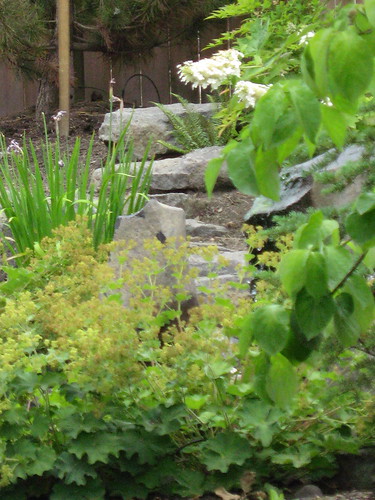
We sat eating in the back yard watching the birds play in the fountain. I haven't been able to get a good photo of the birds... here's the fountain.

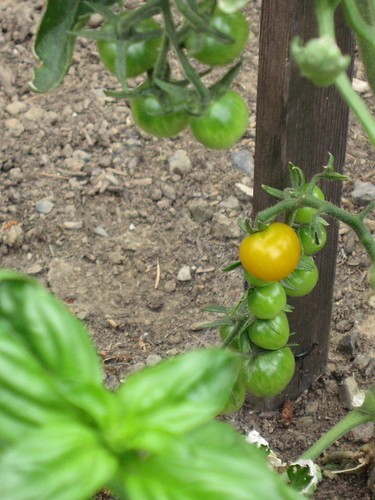
Here's my first tomato of the season and I am so thrilled! It's a Sungold - a cherry tomato with citrus notes. Yummy! That's basil in the foreground. more yum.
In the studio - I have been busy. I joined the round about quilt along over at acommonplacelife.
I was already working on a green/blue quilt top that is curved piecing that I need to finish and then I am going to do bigger blocks for her quilt along in a more vibrant contrasty color way.
I am doing my piecing in a much different way than she says to do it, but when I talked to her about it she said I could piece in my own fashion.
I thought you might be interested in how I do it:
First I pick out a bunch of fabrics, for this one I am doing low contrast, blues/greens with about a quarter of the fabrics as solids in blue, green and yellow(that's my contrast- the yellow).
I am using the templates from Elisa's Backporch. I love these! they come in at least a couple of sizes. I'm using the six inch medium. I cut about a 7.5" strip and cut out the pieces.
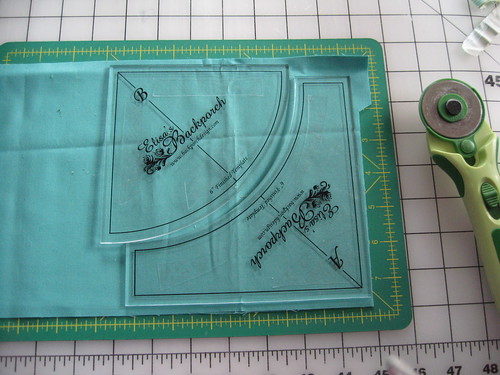
In this next picture you'll see 2 things.
1. Enclosed are her instructions that she calls the "one pin method" after a little practice even that seems like too many pins. really. I promise.
2. I overlapped the templates to show the seam line. If you sew a good quarter inch seam, they really don't any trimming. Easy. Peasy. They are meant to fit together.
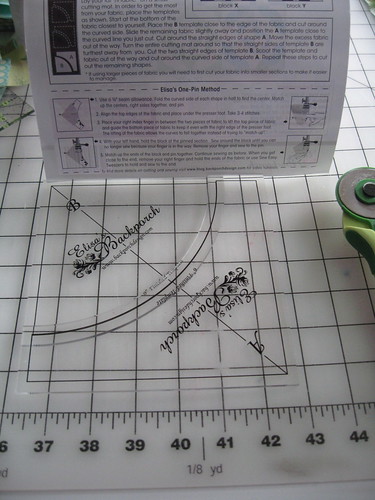
I then make 3 stacks:
1. with the seams ironed open with both light and dark centers.

2. a stack pressed towards the dark centers

3. a stack with the seams pressed towards the dark outers.
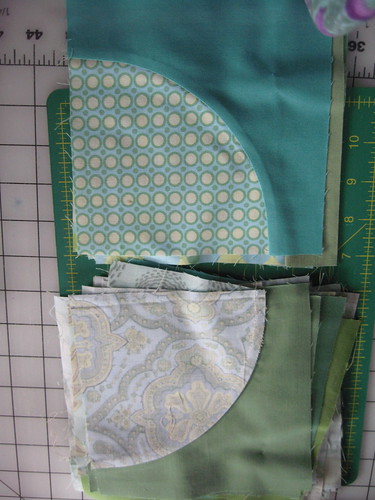
I just sew and press in batches. I put the parts in a stack. sew them up.

After I am done with the squares I will throw them up on the wall and "make pretty". In my flickr I will tossing around photos of the options to get the color balanced. Think about coming over to have a look.
Tips for sewing? Why yes, I have a couple.
In the next photo you'll notice the needle is in the down position, and I have turned my speed down to half.
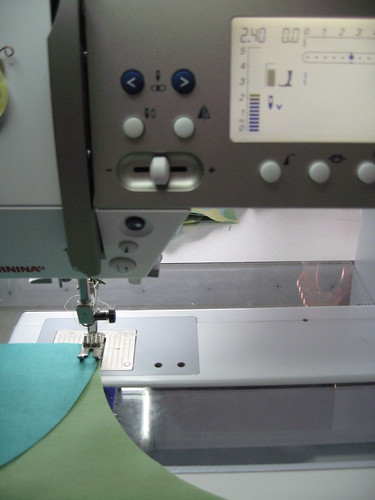
That's it. It's super easy and so much fun. For the effort could there be anything that looks cooler? There are lots of ways to do curved piecing. Have you done some? Please post your photos of inspiring curves, rings, or circles over here in the new flickr.com pool.
Do you want to try? Think about joining the quilt a long.
Love. Peace.
Quilters Rock!
7 comments:
great templates! Thanks for showing me.
Did you see my post this morning? I only just realized (thanks to a tip from a friend) that the whole thing would work better with TWO templates instead of one - including seam allow. I wish our conversation had gone just a little farther when you told me you were doing it differently from my 'method'. Oh well - live and learn!
I'm impressed that you didn't have to square these up in the end. I used the same templates for my Bouncing Baby quilt and I had to square up every single one, and many of them I had to fudge. I was considering cutting everything a little bigger next time I do circles, but maybe I just need to learn how to sew the seams better! LOL
Very cool templates, thanks for posting. I'm just progressing to curved seams, so I'll definitely keep this in mind!
I love curved piecing and I love those templates too. Makes it so easy to cut them out. I have the 7" and the 3 1/2" ones. I bought them so that I could use them together in a quilt. So far I have only used the little one. There are just so many possibilities with those templates!
thanks for this post, i got so inspired that i bought the big template just today :-) now i am practising - well, there is just a little bit "too much" of the pie-fabric left after sewing, seems like the slice is too short. so i guess is have to strech the upper/slice fabric somewhere?? if you have any thoughts about that: i would appreciate it so much!
Post a Comment